The problem#
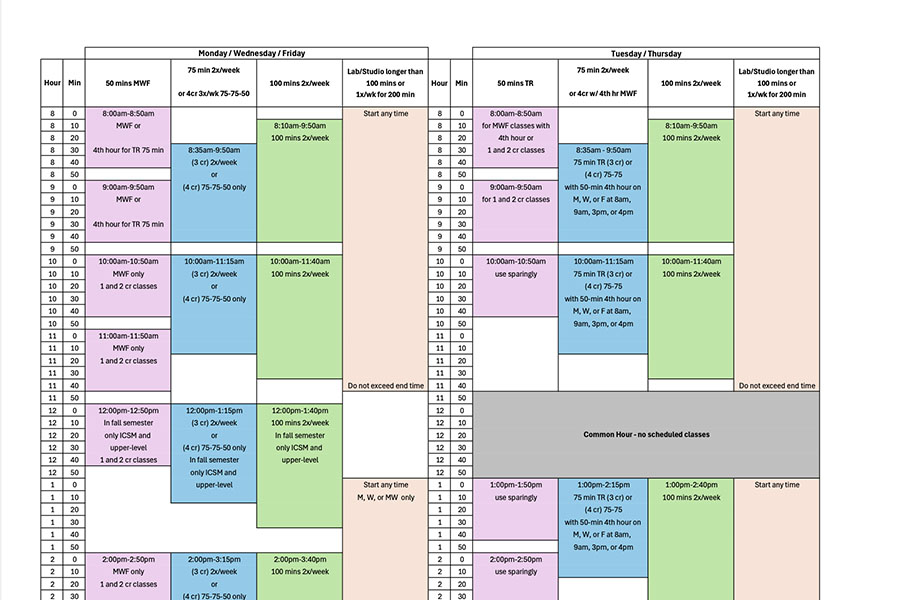
Schedule grids (example) are a way of displaying a collection of events, some of which occur at overlapping times. They are often used to show what is happening at a conference or other busy event with multiple things going on simultaneously. They are tables where the y-axis is time and the x-axis is sometimes arbitrary or sometimes some concept of location (e.g., which room the event occurs in). Events are rectangles spanning their start through end times and usually covering a single column. This is a fairly standard display format for a calendar application showing a single day's events.
I had a friend who needed schedule grids for their job as a teacher in a (somewhat unusual) classroom that had a lot of small group activities, keeping track of where every student and staff person was supposed to be at all times. They were creating the grids using Google Sheets and spending a lot of time on the layout manually rearranging the columns and manually creating copies of the information to display both a summary and separate schedules for each person.
One complication was that due to privacy laws around information about students, I didn't want any of that data to be touching my server, both because I shouldn't have that data and I don't want to be responsible for promising the school district my server won't get hacked.
The solution#
Schedule Grid Editor (source) is a browser-based tool for creating printable schedule grids. While hosted on my server, the tool works just as well entirely offline. It saves the data in local JSON files (or locally in the browser using OPFS with support for import/export of JSON files).
It maintains a weekly schedule, where each event may be recur on one or more days of the week. Each event has some subset of the students and staff assigned to it, and the logic checks that no one is expected to be at two events simultaneously and that every student is assigned to some event at all times. For each day of the week, it generates a schedule with as few columns as possible showing all of the events. Additionally, for each day of the week, for each person, it generates a single column schedule showing just their events.
The details#
Original Python version#
My original implementation was a local Python web server. Since the school computers were Apple laptops that were locked down but came with Python 2.7 installed, they could run a simple web server. Then the application and data entirely fit on a flash drive so working with it never touched the internet at all. At some point the school's security settings changed to no longer allow running Python programs, so that method no longer worked.
In the Python version, most of the logic was implemented on the server side in Python, not in the browser, so I had to port much of the logic from Python to JavaScript when rewriting it. Additionally, as the JavaScript version is a single page, the UI had to change a fair bit to be forms created and read by JavaScript instead of HTML forms submitted to a server.
While the Python version had originally used serialized Python objects as its on-disk storage format, I had changed that to JSON already just on general principles of using a separate file format like JSON is generally a better idea than serializing a program's state as it ensures you understand what is being saved/loaded and avoids corrupted (unintentionally or intentionally) files corrupting the running state of the program.
I have not published the source code repository for that version both because the rewrite in JavaScript made things much cleaner, but also the history of that repository includes hard-coding some details specific to that school. In the rewrite, I made the tool a bit more general.
File handling#
As described in an earlier blog post, Schedule Grid Editor stores data on the local file system. If using a Chromium-based browser with support for the File System Access API, then the site asks the user to select a local folder to store the data in. Otherwise, the app will use the browser's OPFS as the local folder. Either way, schedules can also be imported/exported as JSON files.
In order to deal with the awkwardness of not being able to work with the file system directly, and to provide a basic undo/versioning mechanism to reduce the amount of file management the user has to do, the app has some ability to work with multiple files. Each schedule has a name and the top of the app has a drop-down for selecting different schedules; these should be thought of as completely separate, e.g., the each year might have a different schedule. There a button labeled "Clone to New Schedule" as one year's schedule may be similar enough that copying the last year's to start is useful. Below that there's a list of backups and a button for creating a backup. This is for keeping around different versions of the same schedule.
Other settings#
Below the schedule/backup name settings are a few other settings. There's a title to be shown at the top of every schedule, identifying, for example, which year's schedule it is. You can set the time range the schedule covers each day, which days there's schedules for (e.g., only weekdays), and the granularity (e.g. the default of 15 minutes means event start/end times are aligned to the quarter hour). Below that are the controls for creating, deleting, and renaming people.
Creating events#
In the top-right is the event editor. In it, click the "Create New Event" button to start editing a new event. Events have a "Location" (title), "Notes" (whatever additional text should be included), and a grid of which days, which people have that event on their schedule. Note that while all of that information appears on the full schedule and the staff schedules, only the location appears on the student schedules.
You can select an existing event to edit it either with the dropdown menu at the top of the event editor or by clicking on the location of the event in the schedule or the warnings (if there's problems with the event).
Warnings#
If a schedule is invalid in some way, a list of warnings are shown above the schedule. These validate various rules like no person may be in two events at the same time and all events with students must have staff. These are rules that are easy for a computer to check, but error-prone for a human to review.
Printing schedules#
The final row of settings selects which schedules are visible. The CSS
has settings for @media print so when printing only the schedules will
be visible, not the controls for the settings or editing the schedule.
Layout algorithm#
As mentioned above, while there's a lot of details around getting the
information entered and managing it, the core goal of this project
is to actually perform the layout for the schedule grid, placing the
events in as few columns as possible so the grid for a day can be
printed on a single sheet of paper. The algorithm is implemented in
assignTracks() and is a simple greedy algorithm.
The events are sorted by their start time, and going through the
events one at a time, each one is placed in the leftmost track
(column) that has space for it, which may be a fresh track to the
right of the existing ones if there's no open spaces. This is a simple
"interval scheduling" task which is often used as an example greedy
algorithm in undergraduate computer science
courses, as the greedy algorithm does in fact turn out to be optimal in
this case.
If you look at the code, you'll notice there's a little more complexity involved as the track for an event may be set explicitly by the user (or set to be multiple tracks wide, mostly useful for events with a long text description that doesn't fit when they're only one column wide). Additionally, instead of the leftmost track, the algorithm first tries to select the track with the most matching staff members to make events assigned to the same staff line up as much as possible.
HTML layout#
Outputting the table as HTML is implemented in toHtml().
I've described the general algorithm in a previous post.
The complication is due to the way rowSpan is handled in
HTML <table>s. If you don't have any rowSpan/colSpan attributes,
then the cth <td>/<th> in the rth <tr> is positioned at
column c in row r. But if there are cells above/to the left
using rowSpan/colSpan, then the browser expects there to not be
<td>/<th> elements for the cells overlapping those cells.
For writing out a <table>, that means keeping track of which cells
should be skipped. The events collection does that: for each cell, check
if there's an event on the current track that contains the current
row's time. If so, either we're at the start of the event and should
output a cell for it with the correct rowSpan for its length or we are
overlapping the event and should not output anything.
Comments
Have something to add? Post a comment by sending an email to comments@aweirdimagination.net. You may use Markdown for formatting.
There are no comments yet.